Pumpkin Craft for Kids
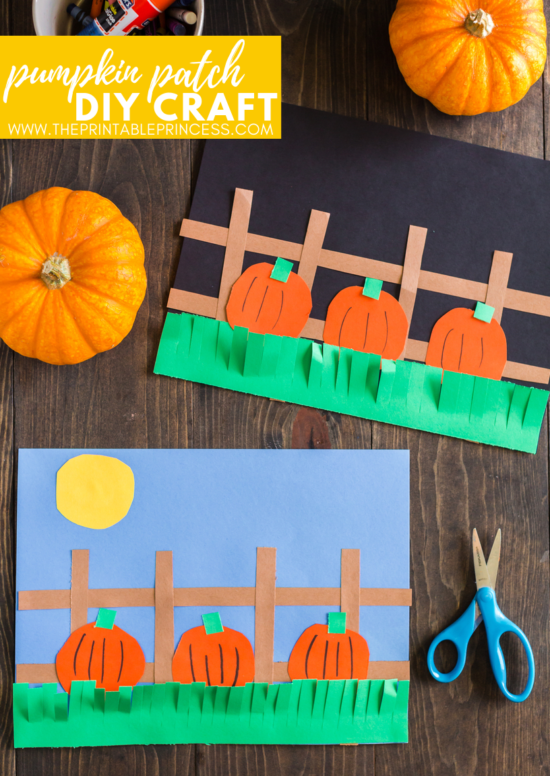
Today I am sharing a pumpkin craft for kids that easy to assemble and just perfect for kindergarten and first grade.
There are so many skills that are practiced in this DIY pumpkin craft for kids. The obvious is fine motor skills with cutting and gluing as students assemble the craft. But students will also have to be able to listen and following directions to complete this activity.
This article, along with many other articles on The Printable Princess, contains Amazon affiliate links. If you purchase through the links I earn a small commission. Clicking these links does not cost you any extra but helps this website to keep great articles and freebies coming your way.
DIY Pumpkin Craft for Kids
When we complete this activity, it is done as a whole group. I have a completed example to show the students what we are going to be making. But I also make the craft with them. There are no tracers – just simple rounding corners and following directions.
I pass one piece out at a time and we work on the project step by step. First I model how to cut the paper and then the students cut the paper.
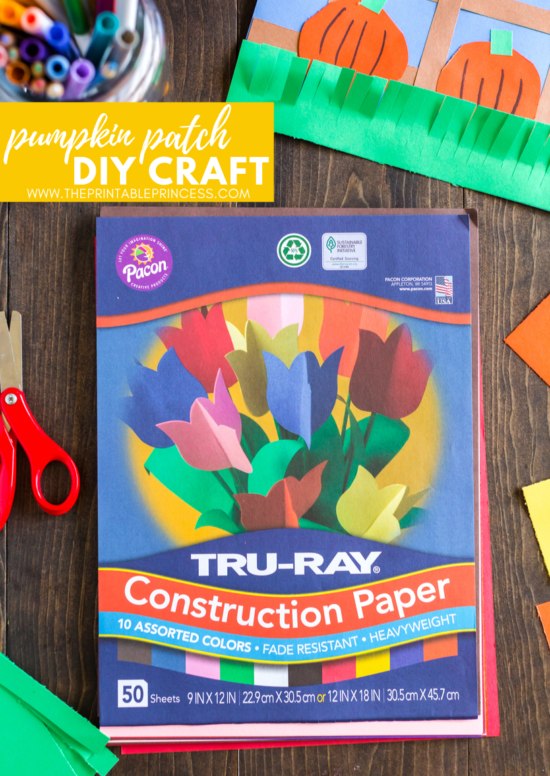
All you'll need for the project is construction paper, scissors, and glue sticks. Students will need either a blue or black background. I let the students pick which one they want. Blue represents a day-time scene, while black makes for a great night-time scene.
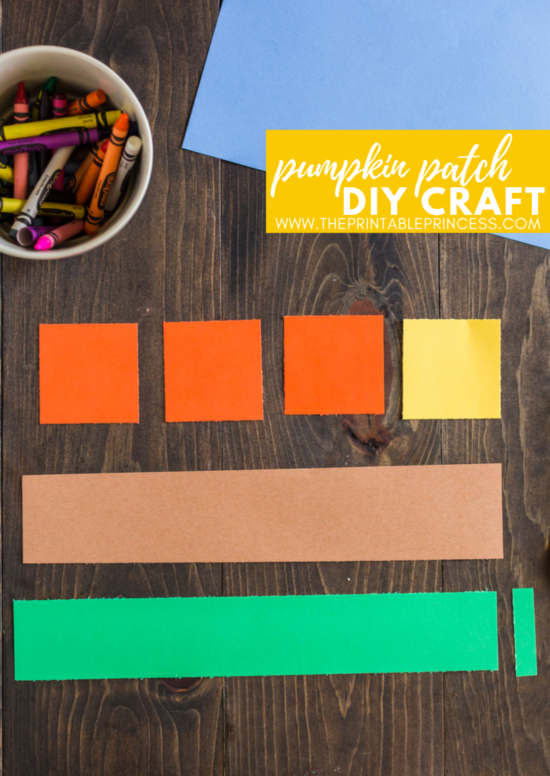
Here is what each student will need:
- 1 blue or black piece of construction paper (for the background)
- Brown Paper: 2 1/4 x 12 inches (1 piece of brown paper, they will cut this into fourths)
- Green Paper: 1 rectangle, 2 x 12, for the grass
- Green Paper: 1/2 x 2, for pumpkin stems
- Orange: 3 squares, 2 1/2 x 2 1/2 inches, for pumpkins
- Yellow: 1 square 2 1/2 x 2 1/2, for sun
Cutting Directions:
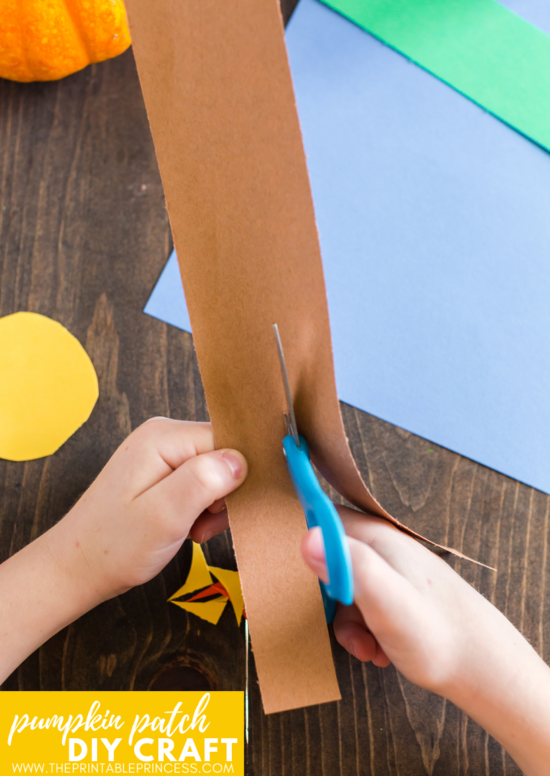
Start with the long brown piece of paper.
Step 1: Have students cut the brown paper in half lengthwise, to create 2 pieces 12 inches long. Take one of the brown pieces and cut it in half lengthwise again to become the fence rails.
Step 2: Take the second piece of brown paper and cut it into 2 6 inch pieces. Then take each of those pieces and cut it in half so you now have 4, 6 inch long pieces. These become the fence posts.
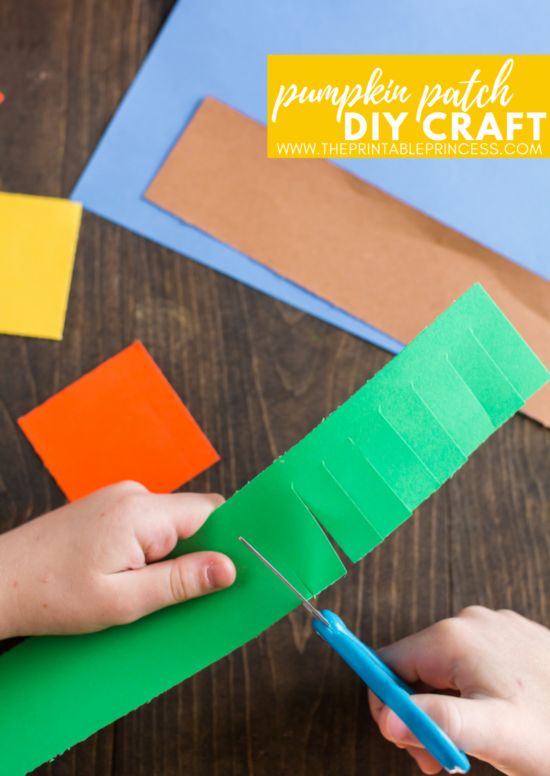
Next, students will get the grass ready. Take the long piece of green paper and make vertical cuts, 3/4 of the way down, the whole length of the paper.
For this step I show students a non-example. I have an extra piece of green paper and I show them what happens if they cut too far down. For students who are having trouble judging how far down to cut, I help them make the first cut as a guide.
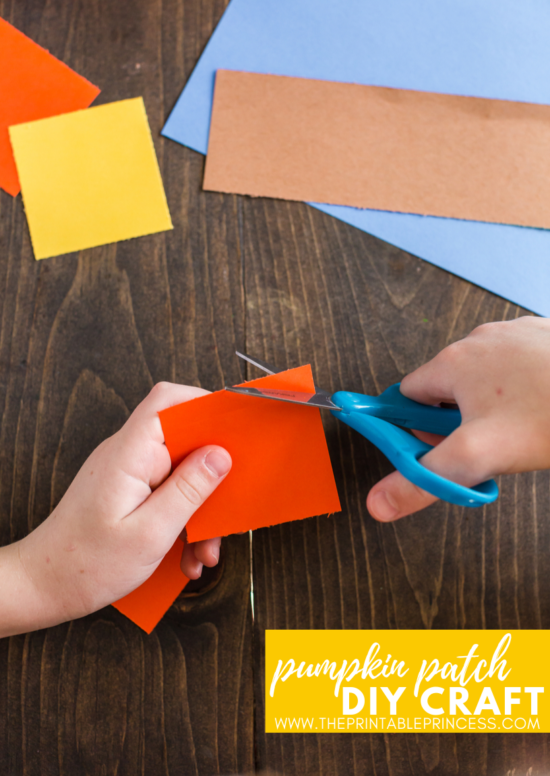
To prepare the pumpkins, take each orange square and round the corners to make pumpkins. It's cute to see the different size and shape that each pumpkin becomes.
Next have students make 3-4 vertical lines on each of the pumpkin with a black or brown marker/crayon.
Take the small green piece and cut into the 3 pieces for the stems.
Finally, round the corners of the yellow square to be the sun (or the moon, if the scene is night-time).
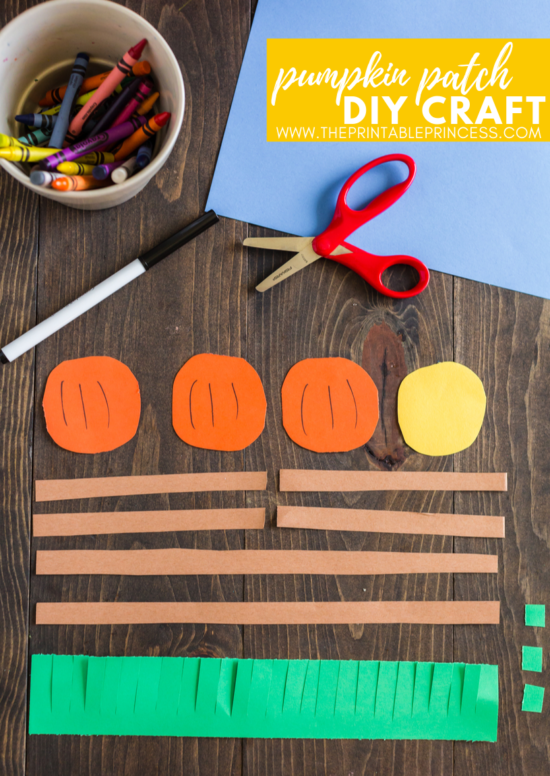
Here's a look at the completed pieces.
Assembling the Pumpkin Craft:
Now it's time to put the pumpkin craft together. Here's step-by-step directions:
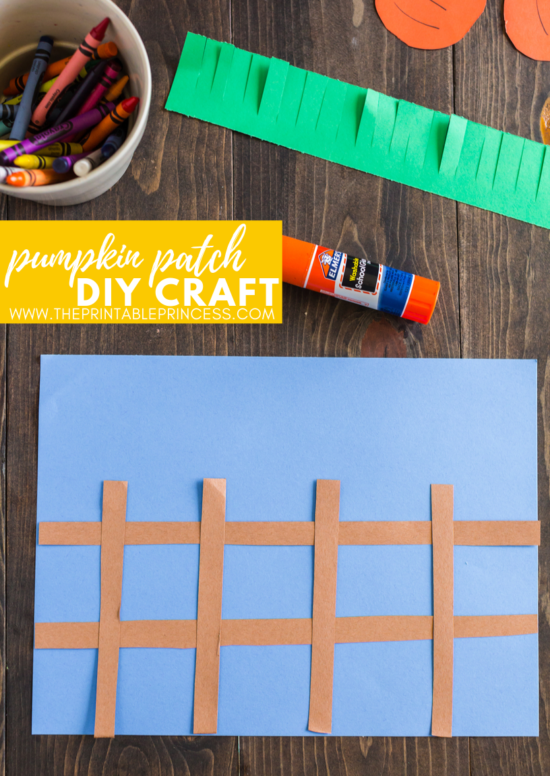
The first fence rail should be glued right down the middle of the paper. Glue the second rail half way between the bottom of the paper and the first fence rail.
Then glue on the fence posts, spaced across the paper.
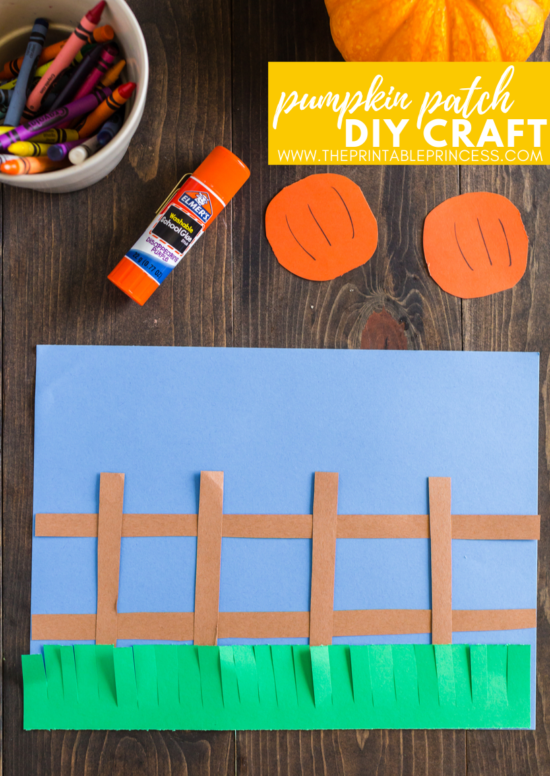
Glue on the grass. Tell students to gently pull each piece back to “fluff” the grass.
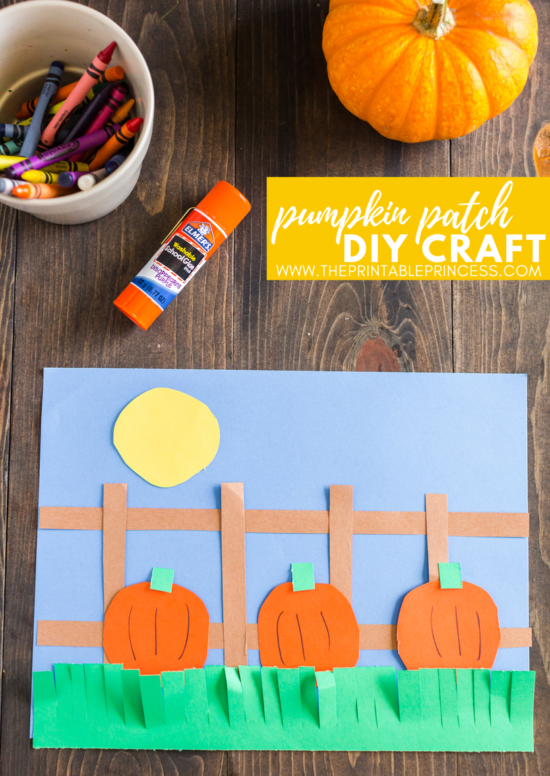
Finally the students will pull back the grass just slightly to glue on the pumpkins along with the stems. They'll glue the sun/moon in the sky – on the left, right, or middle.
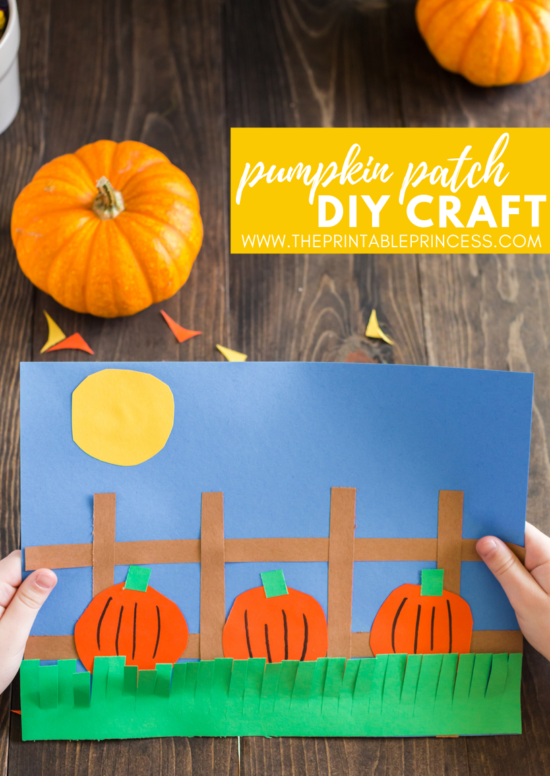
This fall pumpkin craft for kids is perfect during the month of October or November. It makes for a fun Friday afternoon activity and turns out to be a super cute bulletin board or window display.
For step by step directions on how to make the Pumpkin Patch craft, check out this video:
For more fall fun, check out this fun pumpkin patch snack idea..

