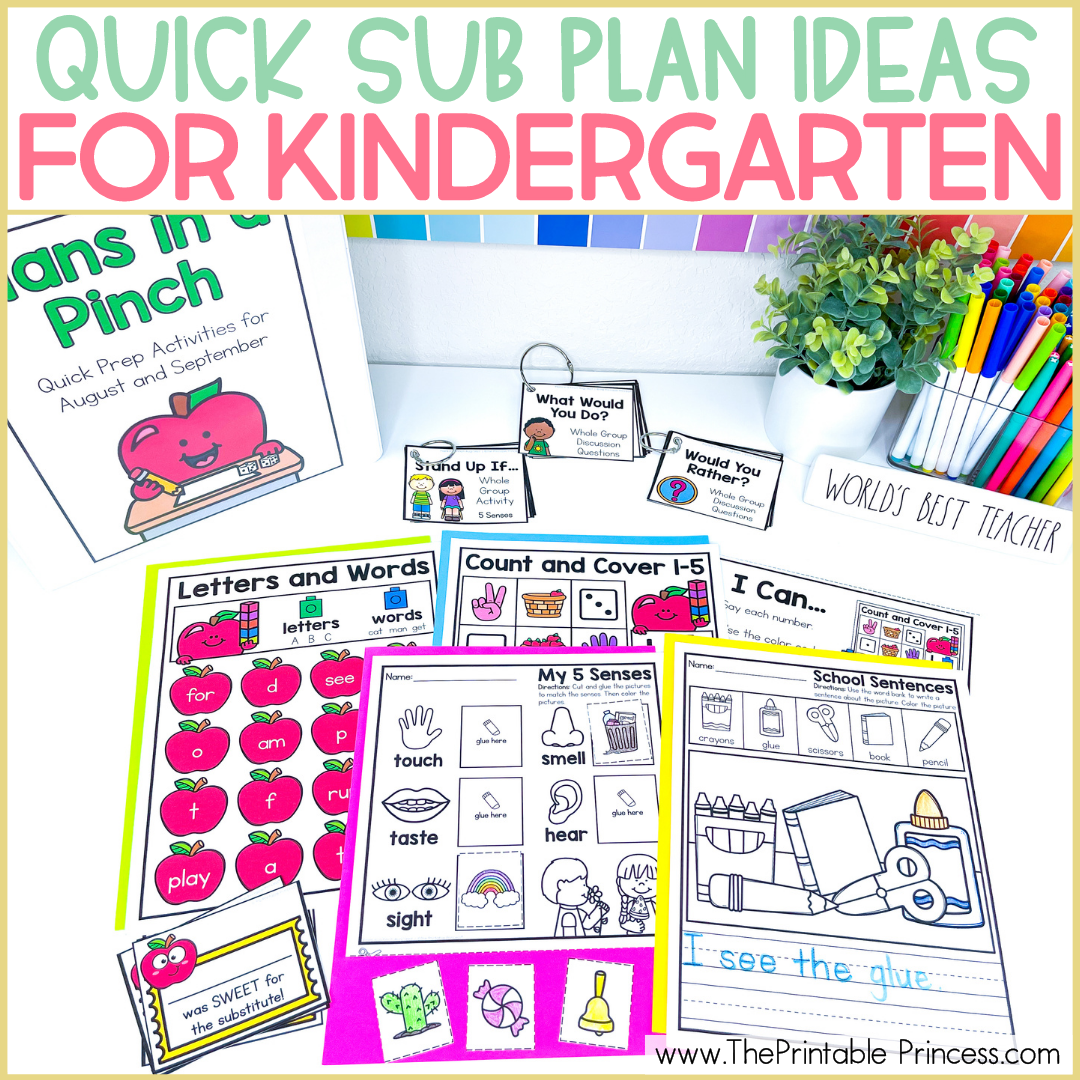
Mini Eraser Storage Solution for the Classroom
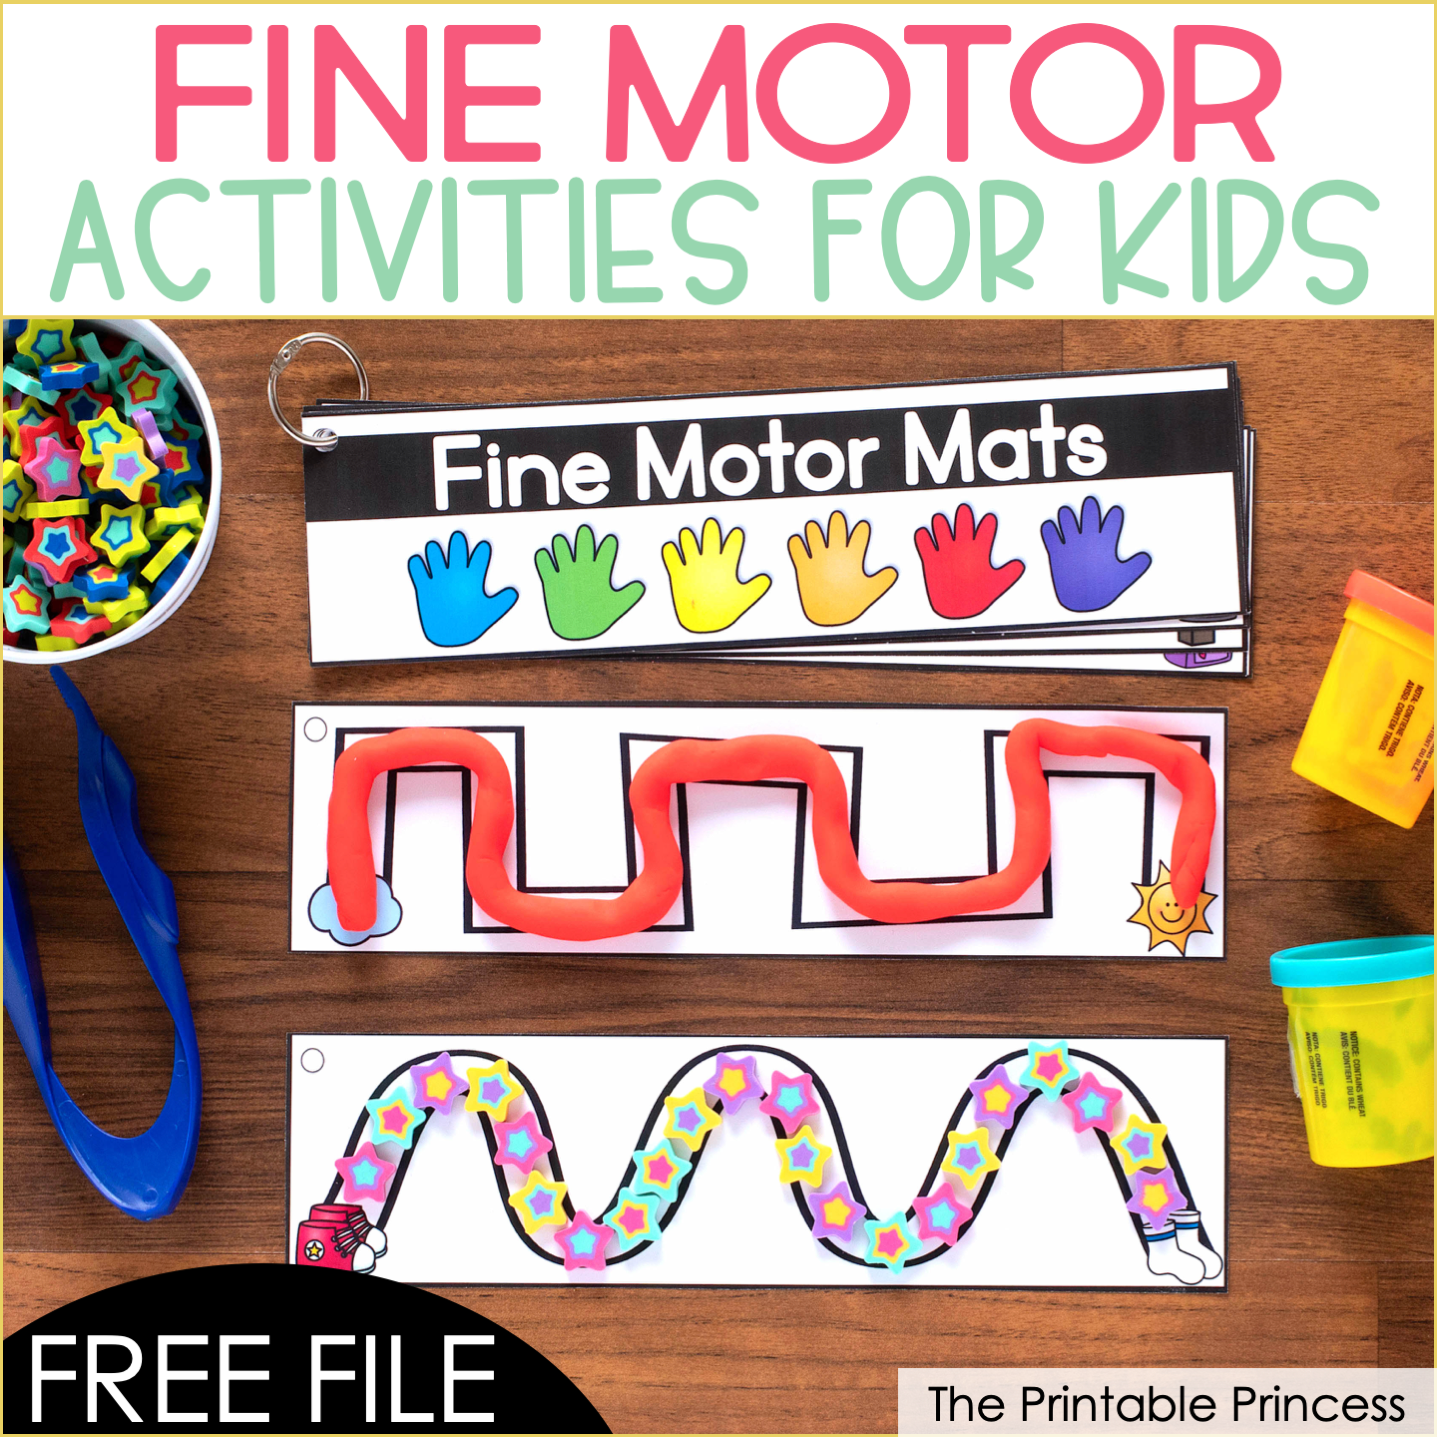
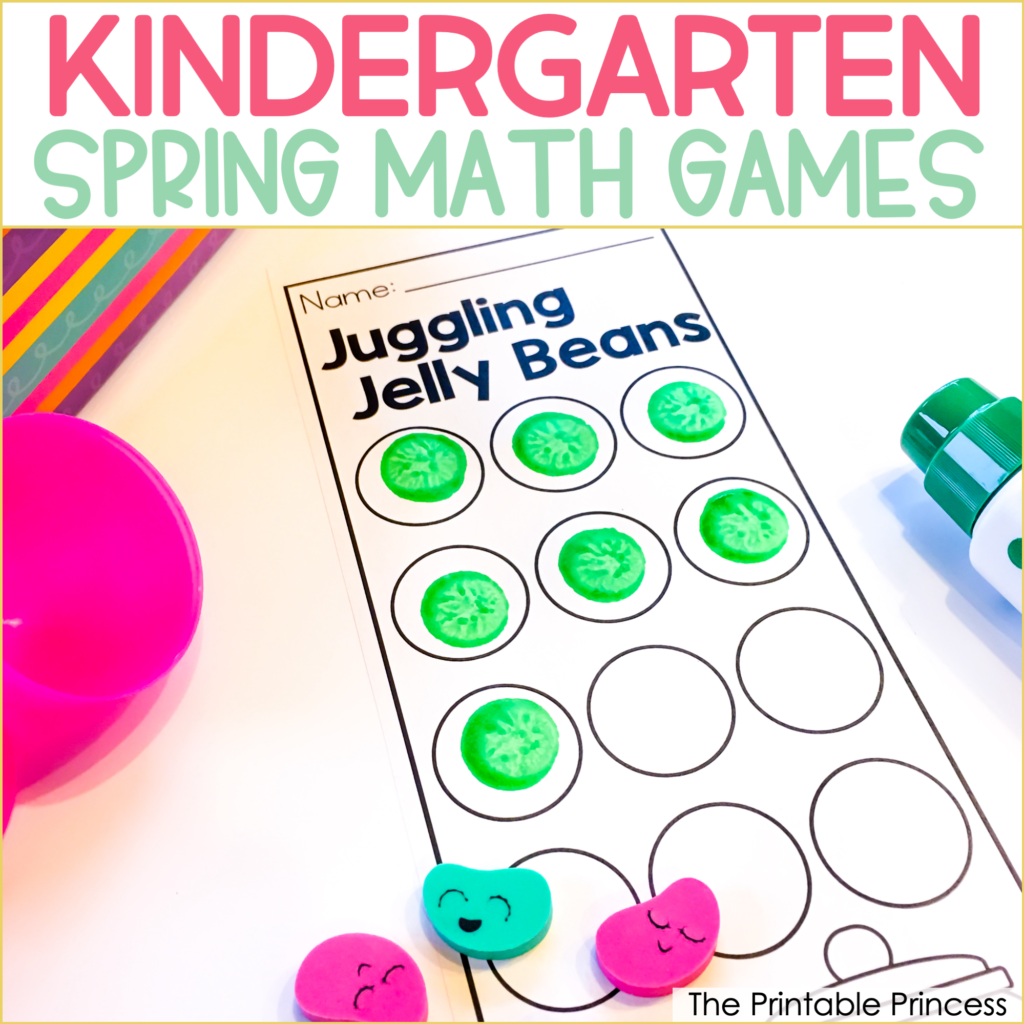
Mini erasers are all the rage right now. What is not to love about them? They are super cute, colorful, kids love them, and they make really inexpensive classroom tools. They are perfect for counters, behavior tools or incentives, math manipulatives, and so much more.
Plus the hunt for them is so addicting. How many of you find yourself running to different Targets when you see new erasers come out? It's okay, you don't have to raise your hand…we all do it! 🙂 But how do you store all of those? Today I'm going to share a mini eraser storage solution!
I worked on this project over the weekend and posted a picture of it on my Instagram account. I got several direct messages asking me about the bins, how many erasers each held, how I organized them, etc. etc. So I thought I would do a quick blog post and break it down for you and answer the questions.
This article, along with many other articles on The Printable Princess, contains Amazon affiliate links. If you purchase through the links I earn a small commission. Clicking these links does not cost you any extra but helps this website to keep great articles and freebies coming your way.
Where do you get all of your erasers?
This is probably one of the most asked question I get. I have been collecting mini erasers since 2014. I did not accumulate this collection overnight. It is the result of many, many, MANY trips to various stores.
Most of my erasers come from Target in the Dollar Spot. If you don't have a Target near you, sometimes you can find them on the Target website by searching “reward erasers”.
I've also got them from Amazon, Oriental Trading, Party City, Wal-Mart, and Hobby Lobby. I think some might have even come from Michaels and Five Below.
Here's some of the ones I have ordered from Amazon:
- Apples (Set of 144)
- Smile Faces in Various Colors (Set of 144)
- Bugs and Insects Assortment (Set of 500)
- Miscellaneous (Set of 500)
- Zoo Animals (Set of 144) – These are a little larger than “mini” erasers.
- Sports (Set of 144) – Again, a little bigger than “mini” erasers.
- Small Fruit Erasers – These are on the smaller side.
- Yellow Ducks (Set of 144…I think)
- Penguin Erasers
I always sort the ones that come in a variety pack. I like being able to grab just what I need instead of picking through to find what I need.
Before: Mini Eraser Mess
Below is a picture of my mini eraser problem collection. I had so many zip-top bags full, it wasn't even funny!

Public Service Announcement: If you're not careful, this is what your eraser collection can turn into. This isn't even all of them. I had the erasers scattered in multiple bins because I had no real organization system. This was a mess for my OCD brain. Not to mention it wasn't effective, I had erasers I had forgotten about and so they never got used.
But awhile back I saw a picture that Jennifer at Simply Kinder posted on Instagram and I thought “I can do that!”. I'm definitely not the craftiest gal around, so it's not often that I look at a DIY project and think I can pull it off.

Supplies I Used:
I bought four of these storage containers and some E6000 glue on Amazon. You can check them out here: ArtBin Store-in-Drawer Cabinet: 30 Drawers and E600 Craft Adhesive Glue.
Just a quick tip about the glue: The one that I linked is the one I found easiest to use because of the pointed tip on top. Plus it's clear so if it runs over a little you can't see it when it dries. You could also use a hot glue gun…but I avoid using those when possible. It always turns out a mess. E6000 is my go-to glue for all my gluing needs!!!
First I gathered all of my erasers and I sorted them so I knew about how many drawers I would need. (We did not have a kitchen table for awhile, but it was worth it.) I sorted them by seasonal and then every day erasers.
What I love about this system is that it's not permanent. You can move and rearrange the drawers as needed. If you get new erasers you can always make room for them by moving drawers around. I don't think I could handle Halloween erasers in the Valentines section!

Directions:
I started by gluing one of each eraser on the outside of the drawers. Then I laid the containers on their backs as I glued the erasers on. This is so the glue can dry without the eraser sliding down. I left it like this until the glue was somewhat set, which didn't take too long. By the time I was done gluing, the first container I worked on was dry.
Tip: I learned that it is important to make sure the entire back of the eraser is covered with glue. The first two or three I glued on didn't have enough glue on the back and they came off easily. But once I made sure the entire back of the eraser was covered in glue, none of them came off.

Putting It All Together:
Once the fronts were dry I filled each basket with the corresponding erasers. Now you're probably wondering how many erasers does each drawer hold? That really depends on the size of the eraser. Each drawer can hold about two 60 count packs of the smaller Target erasers, but it's kind of tight to open and close the drawers. It can definitely hold one and a half 60 count bags.
For a lot of the shapes, I had three bags so two drawers worked perfectly. I put one and a half in each basket.
After the baskets were filled I started putting them in the cases. I made one case for every day erasers. Those were smiley faces, dinosaurs, trucks, owls, etc. – the ones that can be used year-round. The other bins were for seasonal.
I moved the baskets around as necessary until I found an order I was happy with. (As I mentioned above, I LOVE that this system is not permanent and you can shuffle and move as needed.)
Here's a picture of the finished product. I love, love, LOVE that these stack. They are really sturdy once you get all of the erasers in them. You can see a few drawers are empty. I'm hoping Target comes out with some awesome new erasers so I can fill in those lonely little drawers! Here's some close up pictures.
After: The Storage Solution


These mini eraser storage bins was the solution I needed! What is awesome about these little basket is that you can pull them out and hand them to students to use.

The best thing about this mini eraser storage is when the students are done, they put the erasers back in the basket and the basket slides right back into place. Easy clean up! This activity comes from my Uppercase and Lowercase Letter Matching packet.
I can't tell you how much better I feel having this project done! I hope that it helps you! You can check out these posts to read about activities and freebies using the mini erasers. Thanks for stopping by and reading about my mini eraser storage solution project!


One Comment