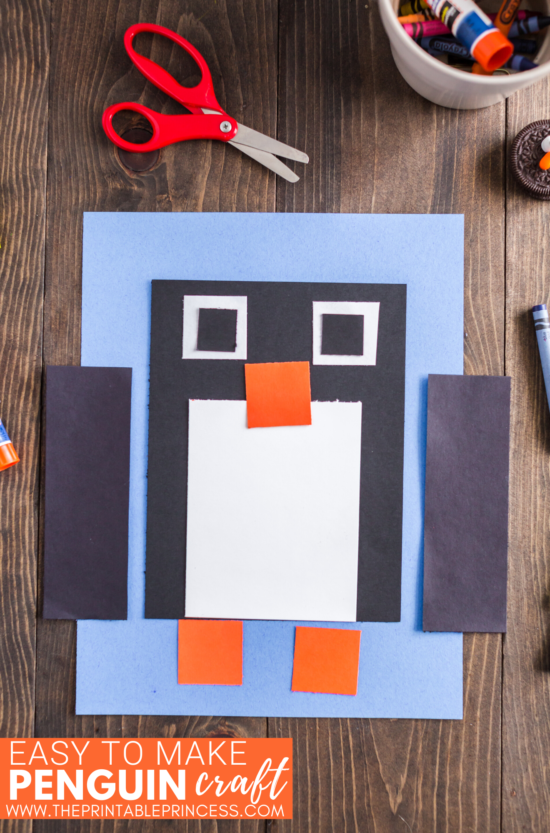
Penguin Craft for Kindergarten
January in kindergarten usually means penguins – which just seems natural, since it's one of the coldest months of the year. Today I want to share with you a DIY Penguin Craft for Kindergarten that would fit perfectly in your penguin unit. Even if you're not doing a penguin unit, this is just a super cute activity for January or February. This penguin craft for kids is perfect for little hands and building fine motor skills.

This article, along with many other articles on The Printable Princess, contains Amazon affiliate links. If you purchase through the links I earn a small commission. Clicking these links does not cost you any extra but helps this website to keep great articles and freebies coming your way.
PENGUIN CRAFT
If you've been following along for a few months and completing the other crafts I've shared, your students should be able to complete this activity as a whole-group.
It’s a good idea to have a completed example to show the students what they will be making. But I also make the craft with them, so I am modeling as we go. There are no tracers for these crafts – just simple rounding corners and following directions.
I think it works best to pass out each section one at a time, especially when a few of the pieces are the same color. This way students know what piece to work on and there isn’t any confusion. Be sure to model how to cut the paper and then have your students cut the paper.
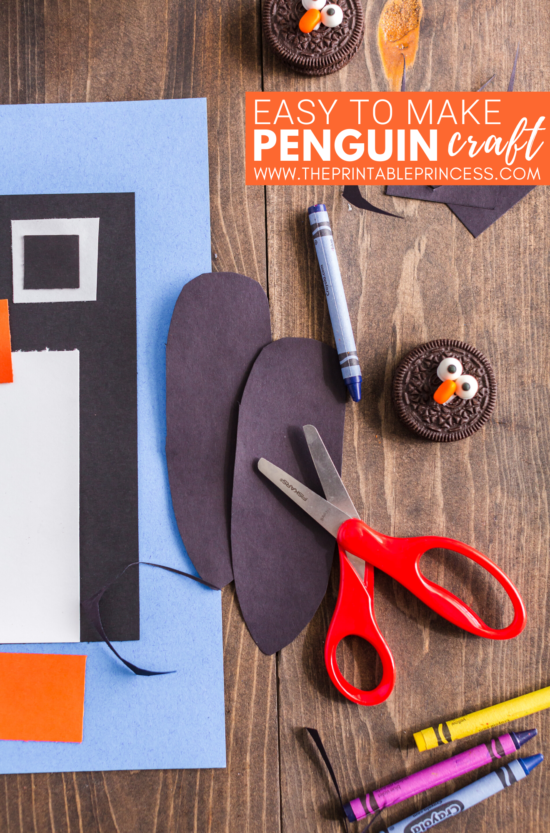
Supplies You'll Need:
All you’ll need for the penguin craft is construction paper, scissors, glue sticks, and a white crayon or marker.
Each student will need:
- background – 9×12″
- black body – 6×8″
- white belly – 4×6″
- black flippers (2) – 2×6″
- black eyes (2) – 1×1″
- whites (2) – 1.5×1.5″
- orange beak – 1.5″x1.5″
- orange feet (2) – 1.5″x1.5″
All measurements are in inches.
Assembling the Penguin:
For the flippers, round the corners to create an elongated oval (similar to the turkey feathers we did for the Thanksgiving craft).
Cut circles out for both eyes. To do this, have students round all four corners.
For the beak, fold the square in half and cut a triangle. It is important that students do not cut on the folded side – model, model, model!
For the feet, round the top, leaving the bottom part straight and uncut, just like the body below.
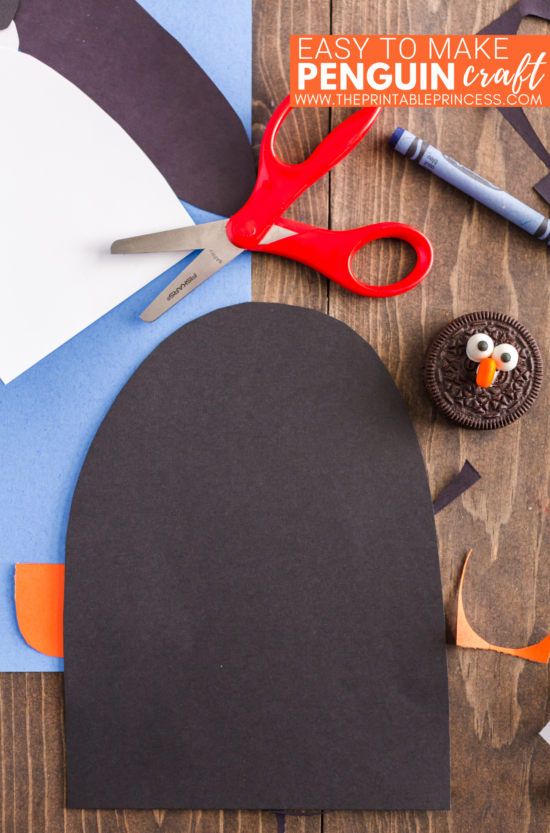
For both the black and white body, round the top, leaving the bottom part flat – just like the feet.
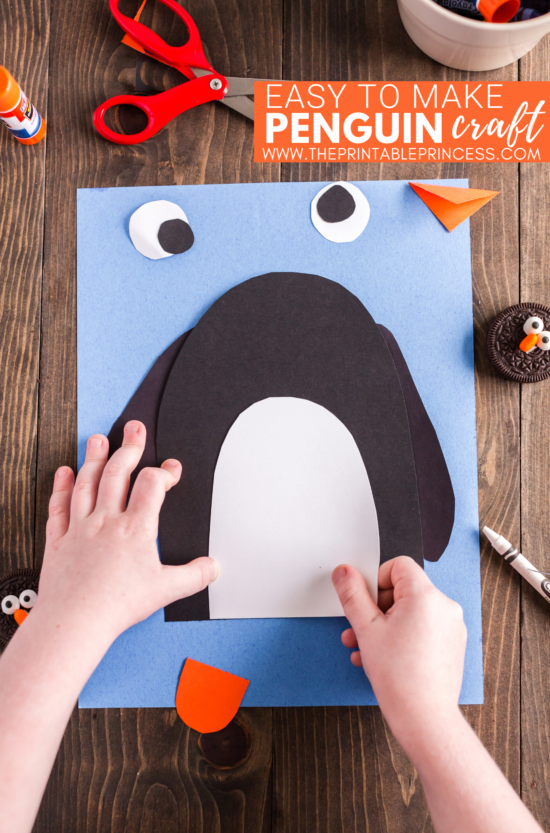
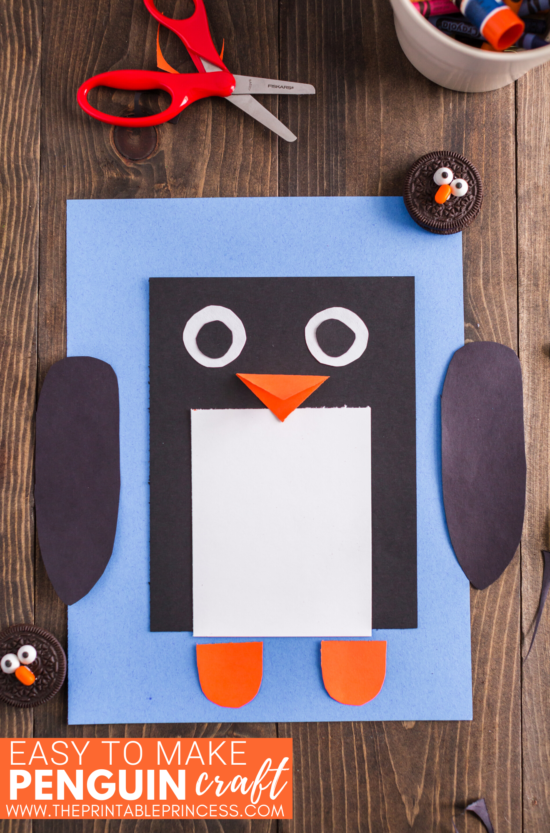
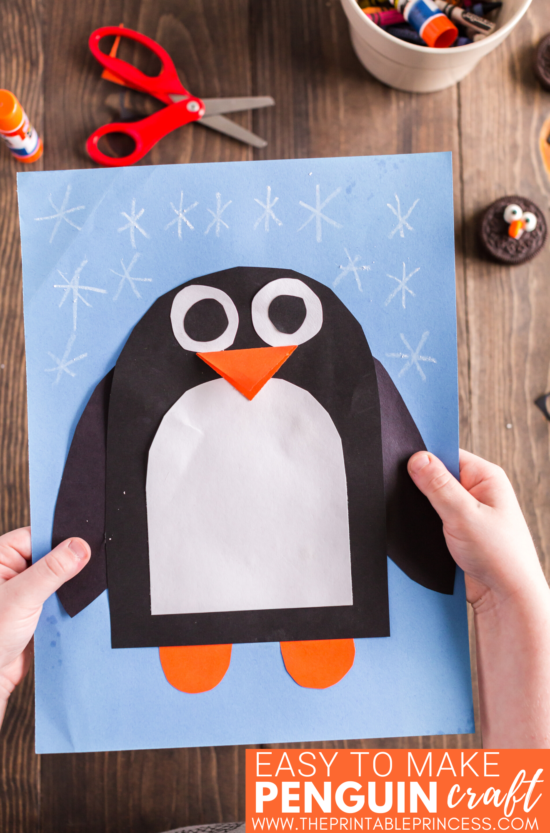
Glue the black body in the middle of the paper. Glue the white belly on top of the black body. Make sure that the black body and white belly are even at the bottom.
Next put glue on the flippers. Slide the flippers in place under the black body. You can do this step before the white belly.
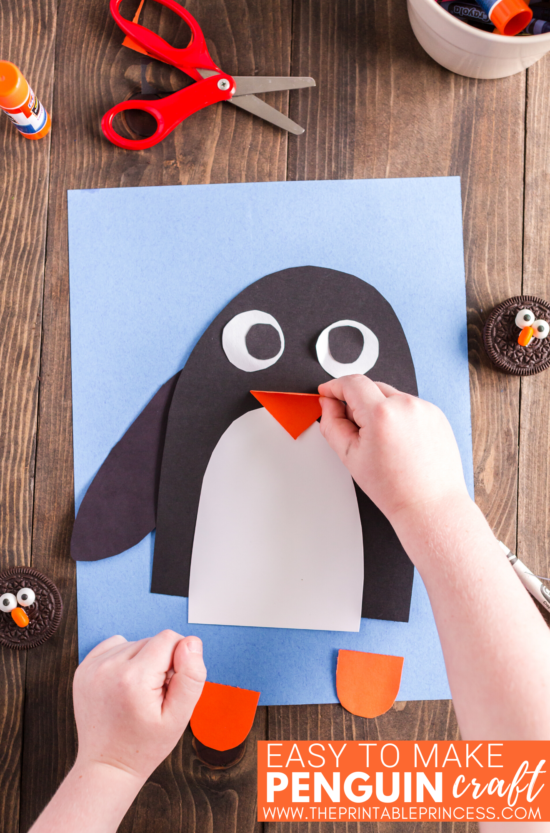
Finish off the penguin craft for kindergarten by gluing on the eyes – the white circle goes on first, then the black circle.
Glue on the beak, under the eyes. Glue the feet on, being sure to tuck the flat side of the feet under the black body.
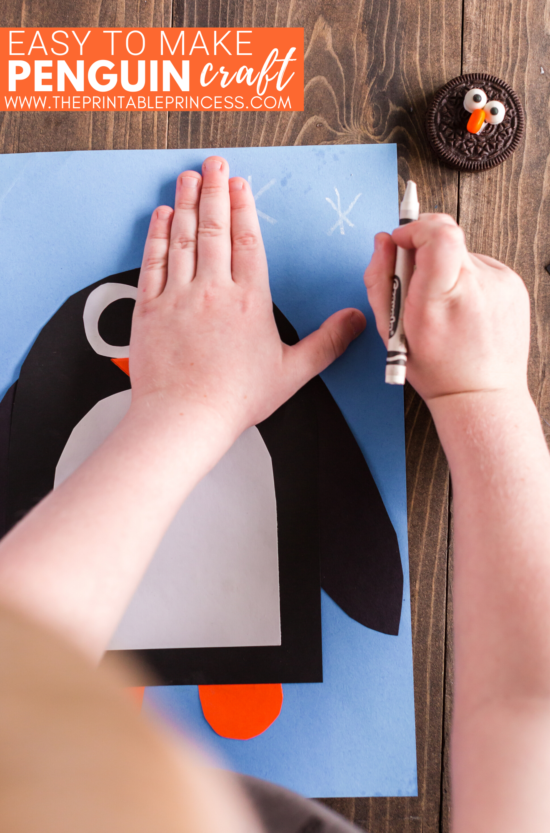
To complete this penguin craft for kids, have students use a white crayon or marker to draw snowflakes in the background. If you're brave enough, you could also use glitter.
You can even draw snow at the bottom for the penguin to stand on.
For a more in-depth look at the Penguin Craft, check out this video:
I hope you are able to use this penguin craft for kindergarten as a cute bulletin board or window display for the month of January.